Meal-prep timing tool comparison
Kitchen Timer vs Phone Timer for Meal-Prep Multitasking
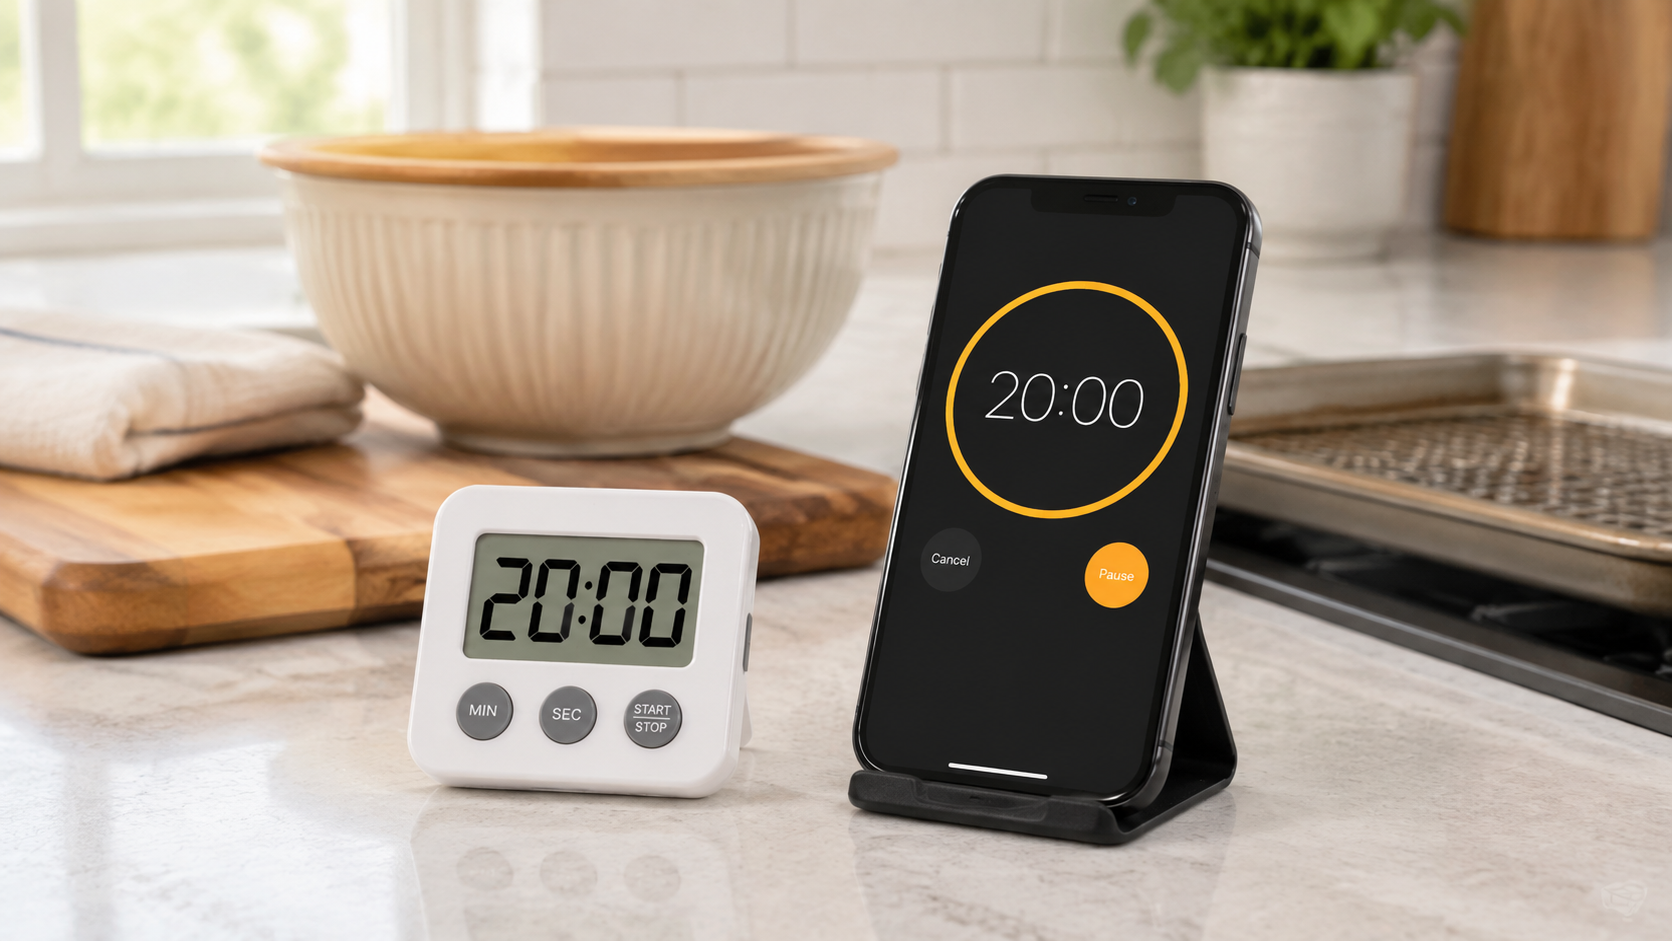
A dedicated kitchen timer keeps one job visible without opening an app. A phone timer can handle several labeled alarms without another object on the counter. The useful choice depends on how many tasks you time, where your hands and attention are, and whether the phone helps or distracts you—not on any promise that a timer changes body weight.
As an Amazon Associate, GoodWeighFinds earns from qualifying purchases.
Quick answer
Choose a dedicated kitchen timer when one-glance visibility, physical buttons, and keeping your phone out of the workflow matter most. Use a phone timer when you need multiple labeled alarms, carry the alert between rooms, or want to avoid buying another device. A timer does not make meal prep effective by itself; it only reduces the chance that a time-sensitive task gets forgotten.
How the two options differ
| Decision point | Dedicated kitchen timer | Phone timer |
|---|---|---|
| Controls | Physical buttons may be faster with a familiar layout; verify button size and reset behavior. | Touch, voice, or accessibility controls vary by device and settings. |
| Visibility | A large display can remain aimed at the work area. | The screen may dim, lock, or be covered by another app. |
| Several tasks | Some models support one countdown; others advertise multiple channels that need checking. | Many phones can run multiple labeled timers, depending on the operating system. |
| Distraction | Keeps messages and feeds out of the timing step. | Notifications and app-switching may interrupt the task. |
| Movement | The alert stays where the timer is unless the unit is clipped or carried. | The alert travels with the phone, but so does the risk of leaving it in another room. |
| Power and upkeep | Needs a stated battery type or charging routine and occasional cleaning. | Uses the phone battery and needs protection from wet or messy hands. |
When a dedicated timer fits better
A separate timer fits cooks who repeatedly time one or two tasks, want the countdown visible across the room, or deliberately keep phones away during meal prep. Look for a display readable from your usual position, controls you can understand without a manual, a stable base or secure magnet, and an alarm setting suitable for the room.
Check the listing or manual rather than assuming the words “loud” or “easy” have a standard meaning. If the timer will attach to an appliance, confirm the mounting surface and keep it away from heat, steam, and controls. A strong magnet claim does not guarantee compatibility with every refrigerator surface.
When a phone timer fits better
A phone timer fits when you already carry the device, need named alarms for several dishes, or move between rooms. Test the built-in timer before buying anything: start simultaneous countdowns if supported, lock the screen, change media volume, and confirm which sound and vibration settings affect the alert.
A stable stand can improve visibility, but it should not put the phone beside a burner, sink edge, raw-food area, or path where a cord can be snagged. Avoid touching the screen with messy hands; use the phone maker’s cleaning directions rather than spraying cleaner onto the device.
What to check before buying
- Actual timing job: Count how many simultaneous tasks you regularly forget and whether labels matter.
- Readable setup: Check digit size, viewing angle, screen timeout, contrast, and placement from your normal work position.
- Control sequence: Inspect how many presses are needed to set, pause, clear, and repeat a timer.
- Alert controls: Verify documented volume, vibration, flashing, or silent options; do not rely on vague listing adjectives.
- Power: Check battery type, charging connection, low-power indication, and whether your phone is usually charged during prep.
- Cleanup: Prefer a placement that limits splashes and flour. Follow the maker’s care instructions; “kitchen timer” does not mean waterproof.
- Return terms: Confirm the current seller and return route in case the display, buttons, or alert do not work for your needs.
Try this before spending
Run one normal prep session with the phone’s built-in timer. Put it on a dry, stable surface where the screen is visible, label each countdown if the device supports that, and note every point of friction. If notifications are the problem, try a focus mode. If messy hands are the problem, test voice control only if it works reliably for you.
Consider a dedicated timer only when that test reveals a specific gap such as poor visibility, too many distractions, awkward controls, or a need to leave the phone elsewhere. If a clock, oven timer, smart speaker, or watch already solves the timing job, use what you have.
Skip criteria
Skip a dedicated timer with unclear controls, an unreadable display, undocumented alarm settings, or a mounting method that does not fit your kitchen. Skip a phone stand that blocks charging or controls, tips during ordinary taps, or places the device near heat or water. Skip both if you rarely time tasks or your existing appliance timer is already easy to hear and reset.
Useful next steps
This comparison maps to the routine-support tools pillar. If a separate timer fits, use the kitchen timer guide for basic format criteria or the large-display timer guide for visibility-focused checks. For organizing the prep itself, compare visible dry-erase planning boards.
Bottom line
A dedicated timer is better at staying visible, simple, and separate from digital distractions. A phone timer is better at flexible, portable, labeled alarms without another purchase. Test the phone first, identify the exact friction, and buy a separate timer only if its controls, display, alert, or placement solve that problem.