Modify, repack, or replace
Is a Lunch-Bag Divider Worth It for Workday Meal Prep?
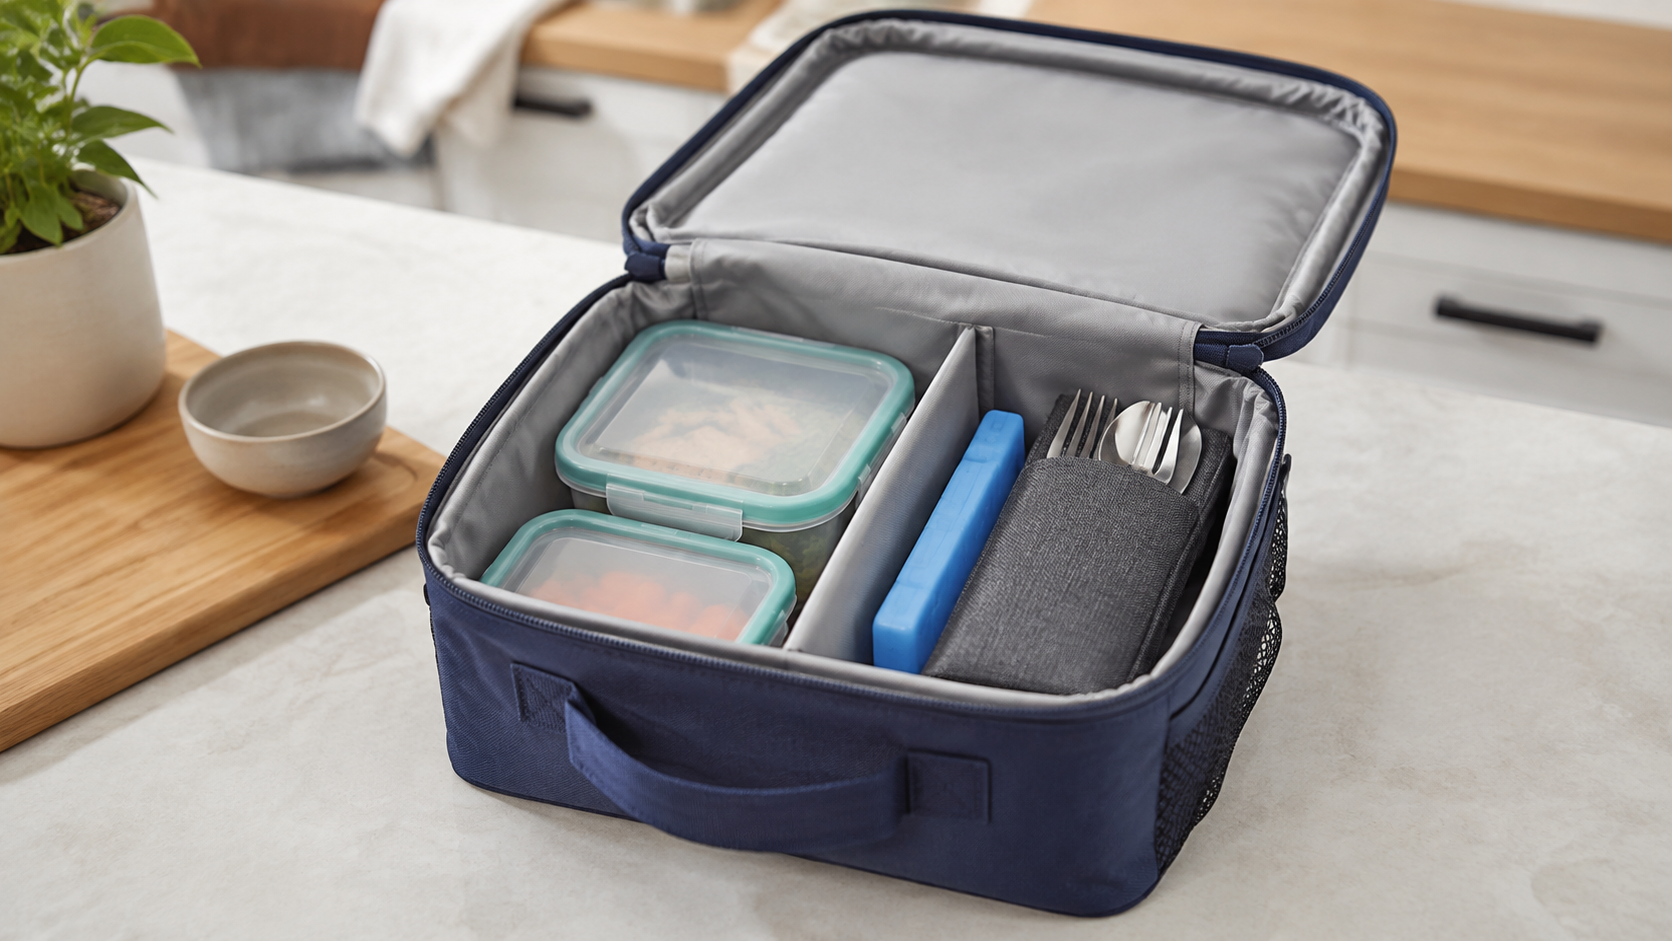
A removable divider can be worth adding when an otherwise useful lunch bag lets upright containers tip or small accessories disappear underneath the main meal. It is unlikely to help when the bag is simply too small, the containers do not close securely, or a different packing order fixes the problem.
As an Amazon Associate, GoodWeighFinds earns from qualifying purchases.
The quick answer
- Likely worth it: the existing bag fits the workday, one repeated packing problem comes from items shifting, and a measured divider can create useful sections without blocking the closure.
- Test first: make a temporary divider from a clean, dry, non-food-contact item such as a small empty box, then load and carry the bag as usual. Use the test only to judge space and layout, not temperature control.
- Probably skip it: the divider consumes needed capacity, your container lids are unreliable, the bag collapses around the insert, or side-by-side packing already works.
Name the problem before buying an insert
“Disorganized” can mean several different things. A tall container may tip because the bag is too wide. An ice pack may slide because the base is slick. Utensils may vanish because there is no pocket. Or stacked containers may be difficult to reach because the bag opens only from the top.
A divider is most useful for a repeated side-to-side layout problem. It does not repair loose container lids, increase the bag's interior volume, add a reliable pocket, or turn an awkward opening into a wide one.
Measure usable space, not the bag label
- Interior base: measure the flat usable length and width inside seams, piping, and rounded corners.
- Loaded height: check the tallest container, bottle, or jar and leave enough clearance for the zipper or flap.
- Divider thickness: subtract the insert's panels, attachment tabs, and base from the space available to food containers and an ice pack.
- Container footprint: measure lids and handles at their widest points, not only the narrower container bodies.
- Opening clearance: confirm that the planned sections can be loaded and removed through the real bag opening.
Run a no-cost packing test
Photograph or sketch the usual workday load, then try three layouts: the current arrangement, heavy or wide containers on the bottom with small pieces in a pouch, and a temporary two-section arrangement. Close the bag fully and carry it through a normal commute if practical.
Afterward, note what shifted, what became difficult to reach, and whether the temporary divider stole space needed for the ice pack or closure. One successful tabletop arrangement is not enough if the bag changes shape when lifted.
Check attachment, cleaning, and collapse
Some inserts rely on hook-and-loop strips, fitted walls, a shared base, or the pressure of the packed items. Check whether the attachment is compatible with the existing lining and whether the supported layout can be changed without leaving unused hardware in the bag. Do not assume “universal” means it fits a tapered or soft-sided carrier.
Look for specific material and cleaning directions. A divider adds faces, seams, and corners where crumbs or condensation may collect. Check whether it removes easily, opens enough to clean, and can dry according to its maker's directions. Do not treat the insert as leakproof or as a substitute for closed containers.
A divider does not establish temperature control
An insert may keep items in separate positions, but it does not prove that perishable food stays within a safe temperature range. It can also change contact between an ice pack and the packed containers. Follow current public-health guidance for perishable food and the directions for the bag, cold pack, and containers; do not rely on an organizer listing for a time guarantee.
Compare the simpler alternatives
- Repack: place the widest stable container at the base and group utensils or small parts in a washable pouch.
- Change one container: if only one shape causes tipping, replacing that piece may preserve more bag space than a full insert.
- Use an existing pocket: a secure external or lid pocket may solve access without crowding the insulated compartment.
- Replace the bag: if the opening, base, or capacity is wrong for every normal load, an accessory may only disguise a poor fit.
When to replace the bag instead
Do not use a divider to prop up damaged lining, failed closures, torn handle attachments, or a base that no longer supports the load. If the current bag cannot hold the planned containers and cooling setup even before the insert is added, compare complete carriers with the insulated lunch-bag buying guide.
If the bag works but cleanup is the recurring problem, a removable lunch-bag liner serves a different job. Avoid stacking accessories unless each one solves a measured problem and the complete setup still closes and carries comfortably.
Bottom line
A lunch-bag divider is worth considering when it fixes a repeat shifting or access problem inside a bag that otherwise fits. Measure the usable interior, subtract the divider's own bulk, and test the proposed sections with what you already have. Skip it when repacking works or when the real issue is the bag, container lid, or missing capacity—not organization. For a broader product screen, use the routine-support tools guide.