Hot work-lunch carry comparison
Lunch Bag vs Insulated Food Jar for Hot Work Lunches
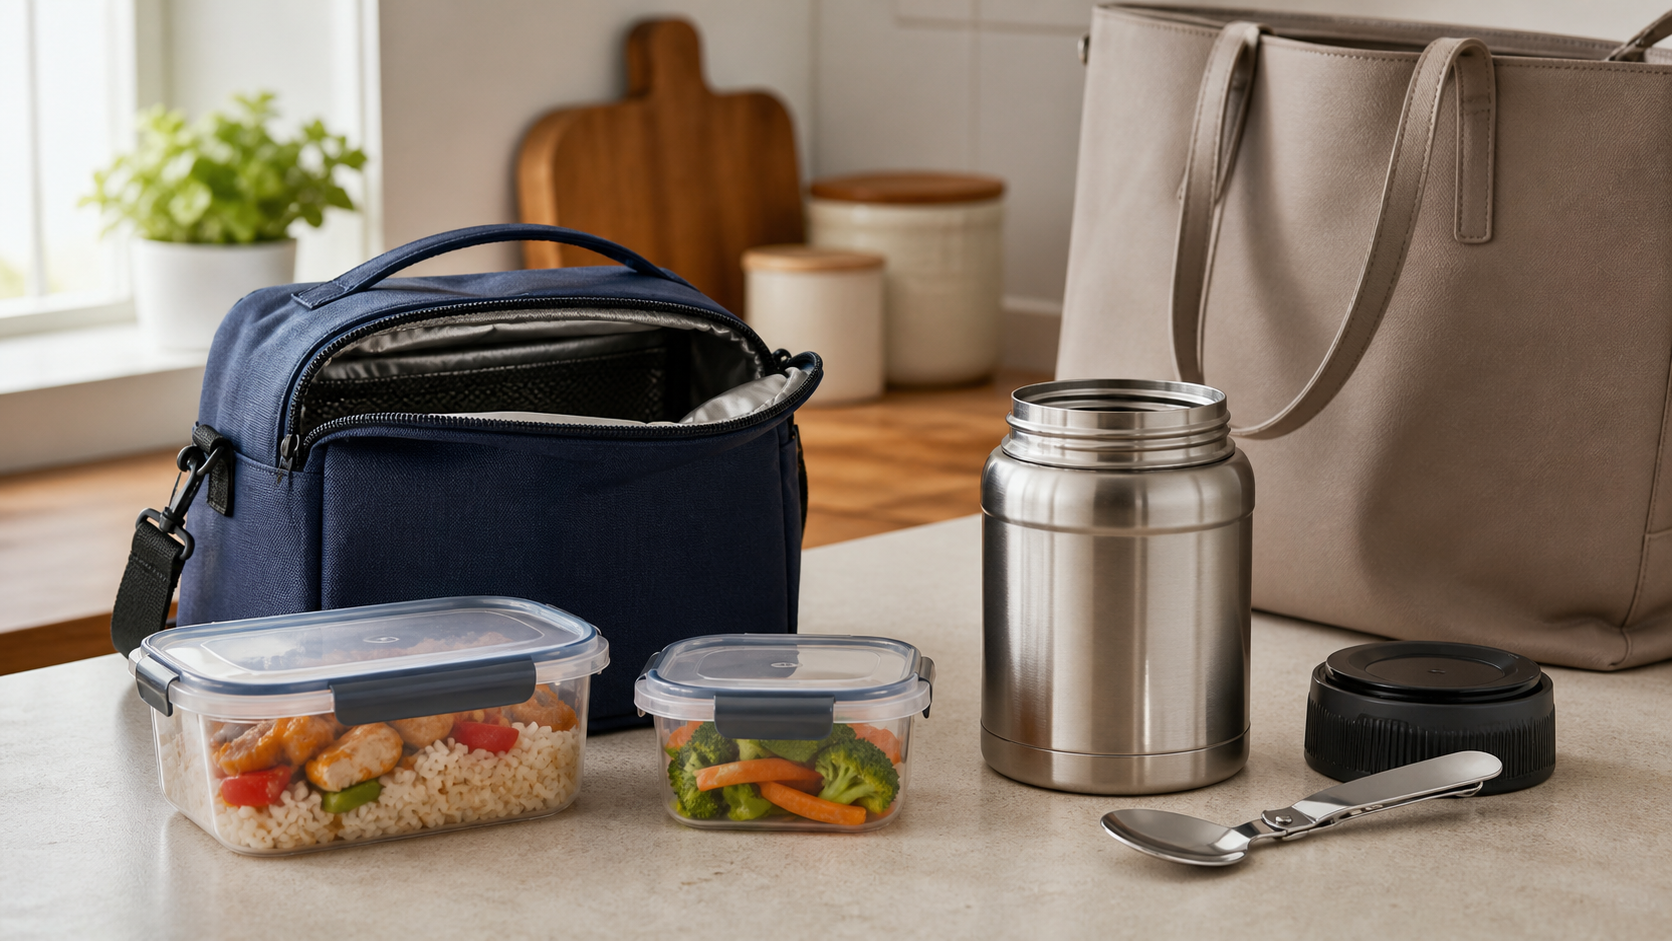
An insulated lunch bag carries a flexible kit of containers, utensils, and sides. An insulated food jar carries one main dish in a compact vessel designed to slow temperature change. The better choice depends on the meal, commute, workplace, cleaning routine, and the exact maker directions—not on weight-loss language or a vague “hot all day” promise.
As an Amazon Associate, GoodWeighFinds earns from qualifying purchases.
Quick decision
| Choose a lunch bag when… | Choose a food jar when… |
|---|---|
| You pack a main dish plus sides, snacks, utensils, or more than one container. | Your regular lunch is one spoonable dish that fits the jar’s usable capacity. |
| Your workplace has appropriate refrigeration and reheating access that fits the containers. | You need a self-contained format and can follow the exact maker’s preparation and use directions. |
| You want to rearrange the kit as meals change. | A single upright vessel is easier to carry than a larger bag and several pieces. |
| You have checked the bag opening, interior, container fit, cold-pack space, and total filled load. | You have checked closed diameter and height, opening width, filled weight, lid parts, and utensil fit. |
The formats solve different jobs
A lunch bag is a carrier, not a heat source. Its advantage is flexibility: a sealed main container can travel with sides, cutlery, napkins, and other items. That flexibility also creates a larger kit to pack, carry, store, and wash. If the main container will be reheated, verify its appliance-use labels and the workplace’s rules rather than assuming every part can go into a microwave.
A food jar combines the container and insulating vessel. It suits soups, stews, oatmeal, pasta, and other foods that can be filled, eaten, and cleaned through the opening. It is less adaptable when a meal has several separate parts, and a narrow or complicated lid may add filling and washing friction.
Measure the entire commute kit
- Lunch bag: Measure the closed exterior, bag opening, usable interior, and container stack. Include any cold pack, bottle, and utensils when checking the actual fit.
- Food jar: Check capacity, closed height, widest diameter, mouth diameter, empty weight, and the likely filled weight.
- Work storage: Confirm the kit fits the available refrigerator, locker, cubby, desk, or shelf without blocking shared space.
- Carry route: Check whether the filled item stays upright and whether its handle, shoulder strap, or position inside another bag feels manageable.
- Parts count: Count containers, lids, gaskets, dividers, utensils, and any proprietary pieces that must return home.
Check workplace access before buying
A bag-and-container setup may be the easier choice when appropriate cold storage and reheating are reliably available. Check queue time, container dimensions, appliance rules, and whether transferring food to workplace cookware is required. Do not microwave metal, and do not assume that a plastic lid, gasket, or divider shares the base container’s instructions.
A jar may remove reliance on a microwave, but that does not establish a universal holding time. Starting conditions, fill level, opening frequency, outside conditions, elapsed time, and the exact construction all matter. Follow current applicable food-handling guidance and the exact manufacturer’s preparation, filling, closing, opening, and cleaning directions.
Compare cleaning and repeatability
For a lunch bag, inspect seams, lining access, drying space, and care labels as well as the containers. A wipe-clean claim does not mean spills cannot reach stitching or insulation. For a jar, check whether a brush reaches the bottom, the gasket can be removed as directed, lid channels are visible, and every part can dry completely.
Try packing the intended lunch in containers you already own for several workdays. Record the pieces, filled weight, bag space, workplace steps, and washing. If the real obstacle is only a poor container shape or missing utensil, replacing the entire carry system may not help.
Claims and evidence boundaries
“Meal prep,” “portion control,” and weight-loss wording do not establish that either format causes a body result or that its capacity is appropriate for every person. Treat listed dimensions and maker instructions as model-specific information to verify. Treat customer anecdotes, photos, and broad “leakproof” or “hot for hours” language as insufficient for your exact route unless the current manufacturer information defines the conditions.
For a closer look at jar construction and listing criteria, use the insulated food jar guide. For a full multi-container commute kit, compare a lunch bag with a meal-prep backpack. The broader routine-support tools guide keeps the decision focused on practical friction rather than body promises.
When to skip both
- You can safely store and reheat food in a container you already own without carrying another specialized item.
- Your usual lunch is not compatible with a jar opening and does not need a dedicated insulated bag.
- The listing omits dimensions, component-specific care directions, material information, or usable return terms.
- The carry system adds more weight, pieces, or cleanup than it removes.
- You would be choosing based mainly on portion or weight-loss pressure rather than a clear work-lunch job.
Bottom line
Choose an insulated lunch bag when a flexible multi-container meal and workplace storage or reheating access justify the larger kit. Choose an insulated food jar when one suitable dish, compact upright carry, and the maker’s required routine fit the day. Measure the complete setup, verify every instruction, and keep using what you own when it already solves the problem.