Freeze-and-transfer or store separately
Silicone Freezer Tray vs Rigid Container for Batch-Cooked Portions
Choose a silicone cavity tray when you want to freeze several measured blocks, release them, and move them into separate labeled storage. Choose individual rigid containers when each portion should stay enclosed from filling through storage and later use. The real decision is whether the space saved after transfer is worth an extra handling step.
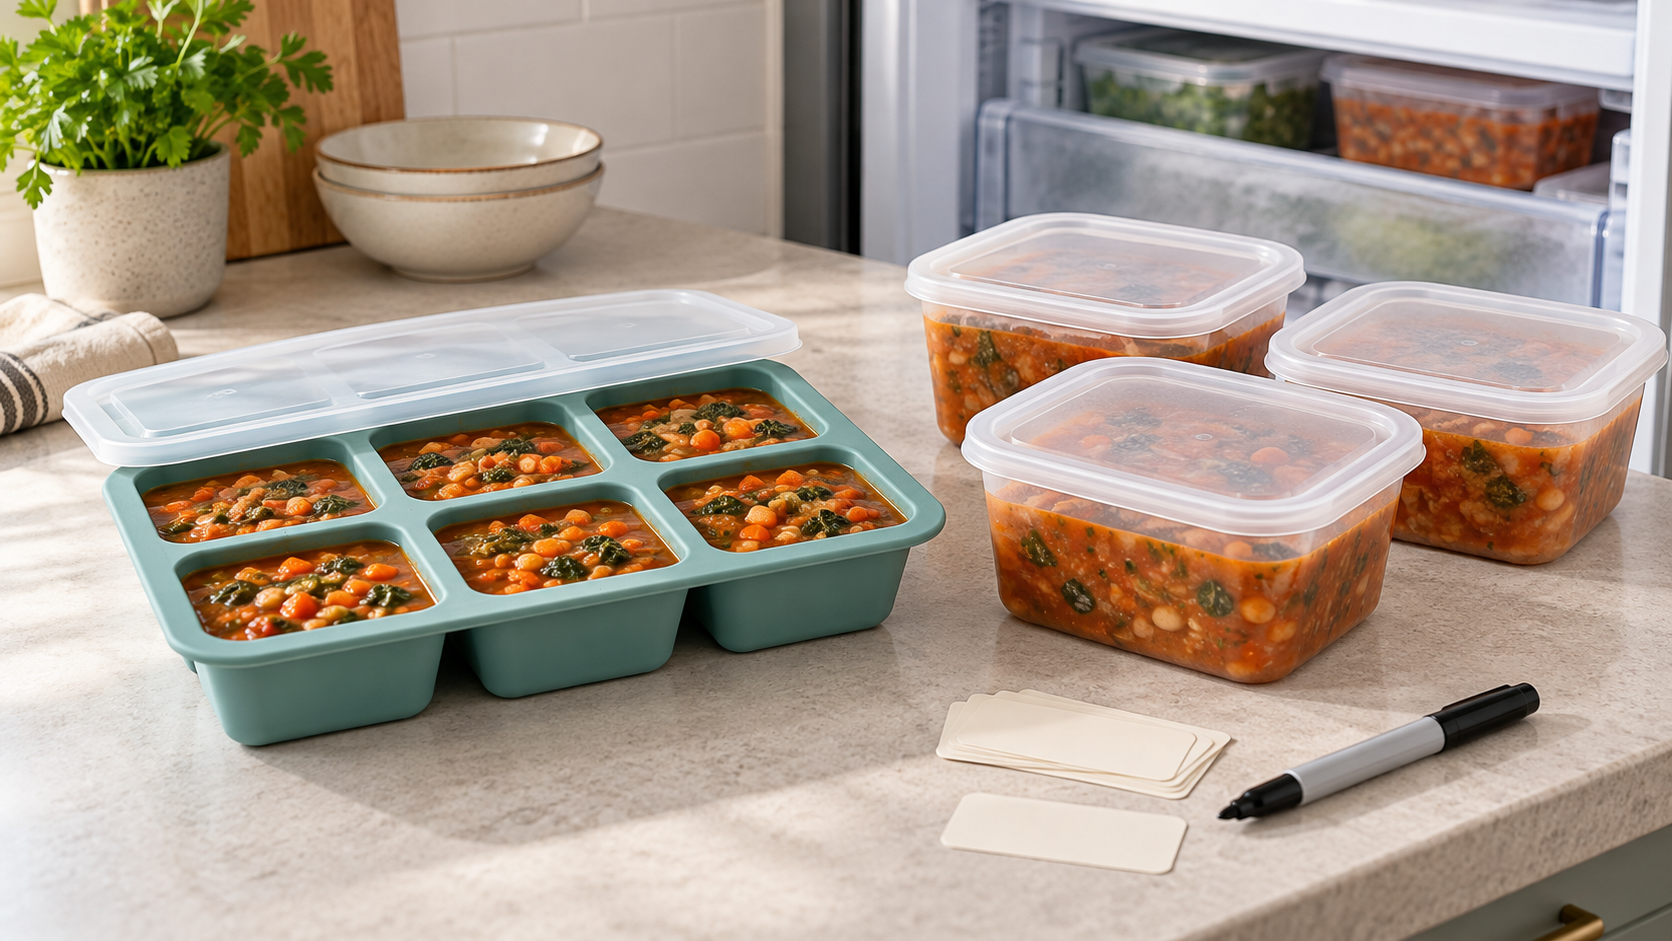
Quick decision
| Decision | Silicone freezer tray | Rigid containers |
|---|---|---|
| Workflow | Fill cavities, freeze, release, transfer, label | Fill, close, label, freeze |
| Portion shape | Repeated blocks set by cavity geometry | Each container keeps its own contents |
| Freezer use | Needs a level tray footprint first; transferred blocks may later pack differently | Needs space for every loaded container from the start |
| Maintenance | Tray, lid, and transfer storage all need care | Each base and lid needs care and matching |
| Best first test | Mock up the tray and transfer space with a measured template | Freeze a normal batch in suitable containers already owned |
The GoodWeighFinds editorial desk treats capacities, temperature limits, appliance permissions, fill lines, release directions, stacking, and care as exact-model facts. Check the current maker documentation for every product considered. This page compares workflows; it does not verify a named model or claim that either format preserves food longer, prevents freezer burn, improves food safety, or changes nutrition or body weight.
Who a silicone freezer tray fits
A cavity tray fits a repeat batch where similarly shaped frozen blocks are useful and someone will reliably complete the release-and-transfer step. It can reduce the number of small rigid containers occupied after transfer, but only if the household already has suitable labeled secondary storage and a level freezing surface.
Measure the complete tray with its lid, not a single cavity. Check documented cavity capacity, fill guidance, material and temperature wording, freezer and reheating permissions, release instructions, cleaning, drying, and empty storage. Do not assume that flexible material means every tray can go from freezer to microwave or oven.
Who individual rigid containers fit
Rigid containers fit a simpler one-container path: fill the portion, close it, label it, freeze it, then follow the exact thawing or reheating directions for that container. They avoid releasing and transferring frozen blocks, and each portion can carry its own label.
The tradeoff is container count and loaded volume. Measure the base, lid, and any rim or handle overhang. Check freezer labeling, temperature limits, closure directions, stacking guidance, cleaning, drying, lid matching, replacement-part availability, and empty nesting. A lid that appears tight in a photo does not prove leak resistance or freezer performance.
Tradeoffs that change the answer
- Transfer labor: a tray adds release, transfer, and secondary-labeling work. Containers keep the portion in one vessel.
- Level space: a filled tray needs a stable level footprint during the initial freeze. Several containers may be placed separately only when their maker directions allow it.
- Identification: individual containers can be labeled at filling. Transferred blocks need a clear system that keeps contents and dates attached to the correct storage.
- Portion flexibility: cavity geometry fixes the block size. Containers can vary in size, but a mixed set can be harder to stack and match with lids.
- Later use: verify whether the chosen storage can move into the planned thawing or reheating workflow; never infer appliance suitability from appearance.
- Empty storage: compare a tray's full stored shape with nested containers plus loose lids, not just product counts.
Setup and maintenance
For a tray workflow, first reserve a level freezer rectangle equal to the full loaded dimensions. Decide where the frozen blocks will go, how that secondary storage will be labeled, and when transfer will happen. Follow the maker's fill, freezing, release, washing, and drying instructions. Inspect the tray and lid for damage before reuse.
For a container workflow, choose enough suitable containers for one normal batch, match every base to a lid, and label each portion before freezing. Follow exact filling, headspace, closure, thawing, reheating, and care directions. Retire damaged pieces according to the maker's guidance rather than improvising with a warped base or mismatched lid.
A hypothetical freezer-space worksheet
| Record | Tray workflow | Container workflow |
|---|---|---|
| Initial loaded footprint | Full tray width × depth × height | Combined footprint of all filled containers |
| After-freeze footprint | Dimensions of the labeled transfer storage | Same containers, unless safely reorganized |
| Handling events per batch | Fill + release + transfer + later use | Fill + later use |
| Pieces to wash and dry | Tray, lid, and transfer-storage parts used | All container bases and lids used |
| Labels needed | At least the final storage label | One per stored container |
Use actual measurements and documented instructions. This worksheet is a planning illustration, not a test of capacity, food preservation, safety, durability, or performance.
Skip criteria
- Skip both purchases if suitable freezer-labeled containers already handle the normal batch.
- Skip a tray if there is no level space for its complete loaded footprint.
- Skip a tray if release and immediate transfer are likely to be postponed or labels separated from the food.
- Skip rigid containers if the required set consumes more freezer and cabinet space than the routine can support.
- Skip either listing when capacity, dimensions, material, appliance permissions, temperature wording, care directions, seller, or return terms are unclear.
- Skip marketing that promises portion control, freshness, freezer-burn prevention, food safety, nutrition, or weight-loss outcomes without claim-specific support.
Next steps after the format choice
If freeze-and-transfer fits, use the silicone freezer tray guide to compare cavity geometry, complete dimensions, lids, documented release steps, care, and storage. If one-container storage fits, use the freezer container guide for bases, lids, stacking, labeling, and exact use directions; the freezer-container buy-or-skip test can help before shopping. This comparison supports the broader routine-support tools pillar.
As an Amazon Associate, GoodWeighFinds earns from qualifying purchases.
Bottom line
Choose a silicone freezer tray when repeated block sizes and post-freeze transfer genuinely improve the measured freezer layout. Choose rigid containers when fewer handling steps and separate labels matter more than using many vessels. Follow exact model directions, account for every storage and cleaning step, and skip a purchase when tools already owned pass the same batch test.