Routine-support buying guide
Best Silicone Freezer Trays for Batch-Cooked Portions
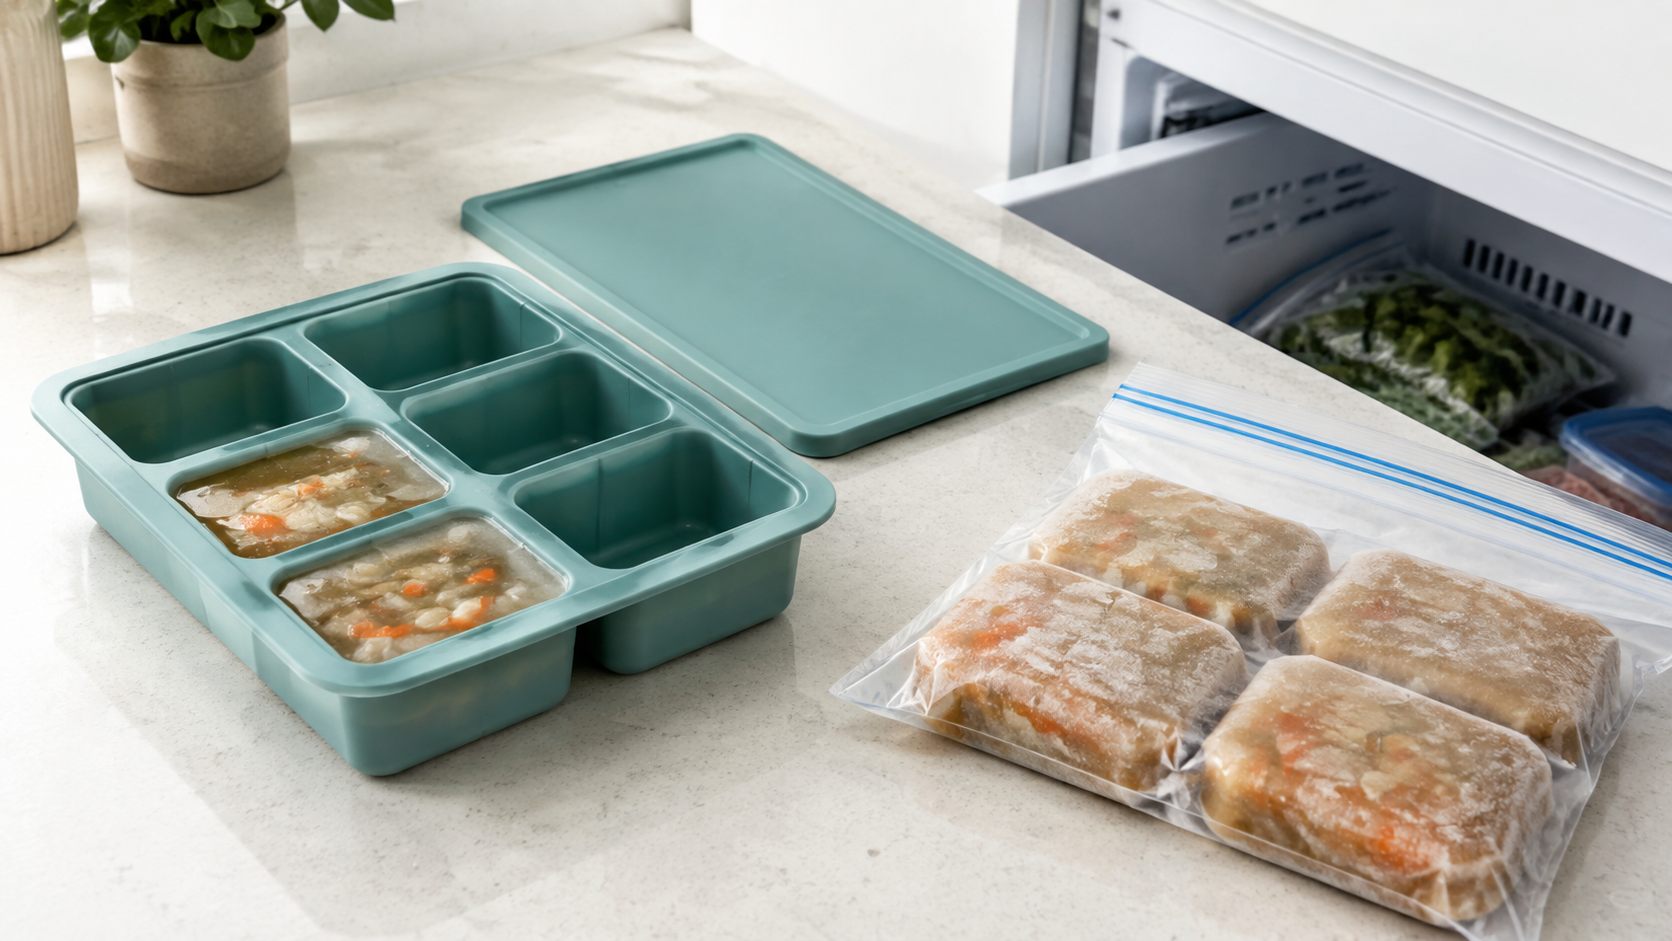
A silicone freezer tray can turn a pot of soup, sauce, or another freezable cooked food into separate blocks for later meals. The useful choice fits your freezer and your usual serving workflow, releases without a struggle, and has directions you can actually follow.
As an Amazon Associate, GoodWeighFinds earns from qualifying purchases.
Who this guide is for
This guide is for adults who freeze repeat batches of soup, stock, sauce, beans, or other foods that the recipe and tray maker identify as suitable for freezing. A tray organizes food; it does not change its nutrition or produce a weight-loss result.
Start with the routine-support tools guide if you are still deciding whether another kitchen item solves a real problem. If you want to freeze complete meals, stack containers, or reheat in the storage vessel, compare freezer containers instead.
Choose a format around the job
- Small-cavity trays: Useful when a recipe calls for smaller additions such as sauce or stock. Confirm the stated capacity per cavity rather than judging it from photos.
- Large-cavity trays: Better suited to larger servings, but a filled tray can be heavier and may need more flat shelf space during freezing.
- Individual-cavity lids: These may limit exposure when only part of a tray is used. Check how each closure works and whether the maker describes it as a cover or a seal.
- One full-tray lid: A single lid can simplify stacking. Verify whether it attaches securely and whether another filled tray can actually sit above it without pressing on the food.
Measure before opening a product listing
Measure the clear width, depth, and height of the freezer shelf where the tray must sit flat. Compare those measurements with the tray's full outside dimensions, not just cavity measurements. Leave room to hold the tray level while sliding it in and out.
Then decide what one frozen block should do. A cavity labeled with a nominal capacity may not be intended to be filled to the rim, so look for the maker's fill guidance. Avoid treating a cavity size as a nutrition prescription; it is simply a storage unit that should fit your recipes and household.
Selection criteria that matter
- Cavity capacity and count: Look for a capacity per cavity and the number of cavities. Decide whether one cavity, two cavities, or another combination matches how you normally use the food.
- Overall tray dimensions: Confirm that a full tray fits flat in your freezer and that the lid does not add unexpected height.
- Support while carrying: Flexible silicone can bend when filled. Check whether the maker recommends placing the tray on a rigid sheet pan or other support during filling and transfer.
- Lid design: Treat a lid as protection from contact and stacking only to the extent described. Do not assume it is leakproof or suitable for carrying liquid.
- Material disclosure: Prefer a specific material description and food-use instructions over vague terms such as “premium” or “food grade” without supporting detail.
- Temperature and appliance labels: Verify freezer, dishwasher, oven, or microwave directions separately. Freezer suitability does not establish safe use in another appliance.
- Release method: Look for clear directions on flexing the tray or pushing from beneath. Consider whether limited grip or hand strength would make a rigid container easier.
- Cleaning and drying: Deep corners and lid channels need to be reachable. Confirm dishwasher placement or hand-washing directions and allow every part to dry fully.
- Labeling workflow: Plan to record the food and freeze date on the final storage container or bag. Do not rely on memory once blocks are removed from the tray.
The freeze-and-transfer workflow
- Cool and handle the cooked food according to reliable food-safety guidance for that food.
- Place the clean tray on a stable surface, following any maker instruction for rigid support.
- Fill only to the stated level, attach the lid as directed, and keep the tray level.
- Freeze on a flat shelf. Once the food is fully frozen, release blocks using the tray maker's directions.
- Transfer blocks promptly to a freezer-suitable container or bag labeled with the contents and date, then return them to the freezer.
This workflow uses the tray as a mold rather than long-term storage. If you would rather freeze, store, thaw, and sometimes reheat in one vessel, compare meal-prep and freezer containers before buying another specialized tool.
Claims to slow down around
“Leakproof,” “odor proof,” “stain proof,” “non-toxic,” “unbreakable,” and very broad temperature ranges need specific current documentation. A lid may reduce surface contact without containing a tilted tray of liquid. Silicone flexibility can help release food but does not prove that a tray will resist tearing, odors, or staining indefinitely.
The tray also does not determine how long food remains suitable to eat. Follow current food-storage guidance for the recipe and ingredients, and discard food when its identity, storage time, or handling history is uncertain.
Buy, delay, or skip?
- Buy: You freeze the same foods repeatedly, know the useful block size, have flat freezer space, and will transfer and label the blocks.
- Delay: Measure the freezer and test your workflow first with freezer-safe containers you already own.
- Skip: You rarely batch-cook, need complete-meal storage, cannot comfortably release blocks from flexible silicone, or do not want a separate transfer step.
Useful companion tools
A tray works best with a clear inventory habit. Compare freezer-safe label tapes for removable identification or freezer inventory boards when the harder problem is remembering what is already stored. These tools support organization; they do not verify food quality or extend storage life.
Bottom line
The best silicone freezer tray is the one whose documented cavity size matches food you actually freeze, whose full dimensions fit a flat shelf, and whose lid, release, care, and transfer instructions fit your routine. Choose by measurements and workflow, not promises about portion control, durability, or perfect seals.