Small-kitchen scrap collection guide
Best Countertop Compost Bins for Meal-Prep Scraps in Small Kitchens
A countertop compost bin is a temporary collection tool, not a guarantee against odors, pests, or mess. The useful choice is a caddy that fits your available surface, the scraps your local program accepts, and an emptying-and-cleaning routine you will actually maintain.
As an Amazon Associate, GoodWeighFinds earns from qualifying purchases.
Start with the collection route, not the bin
Before comparing containers, check what your municipal pickup, drop-off site, community program, or home system currently accepts. Rules can differ on meat, dairy, paper liners, compostable bags, and certified packaging. A caddy that depends on an unaccepted liner or holds scraps longer than your collection schedule allows is a poor fit regardless of its design.
If you do not have an active organics route, first decide what will happen after the scraps leave the counter. A dedicated caddy does not create a disposal option. An existing bowl used during prep, a lidded container kept in the freezer, or direct trips to an outdoor receptacle may solve the collection step without another purchase.
Quick category match
| Bin style | Useful when | Check carefully |
|---|---|---|
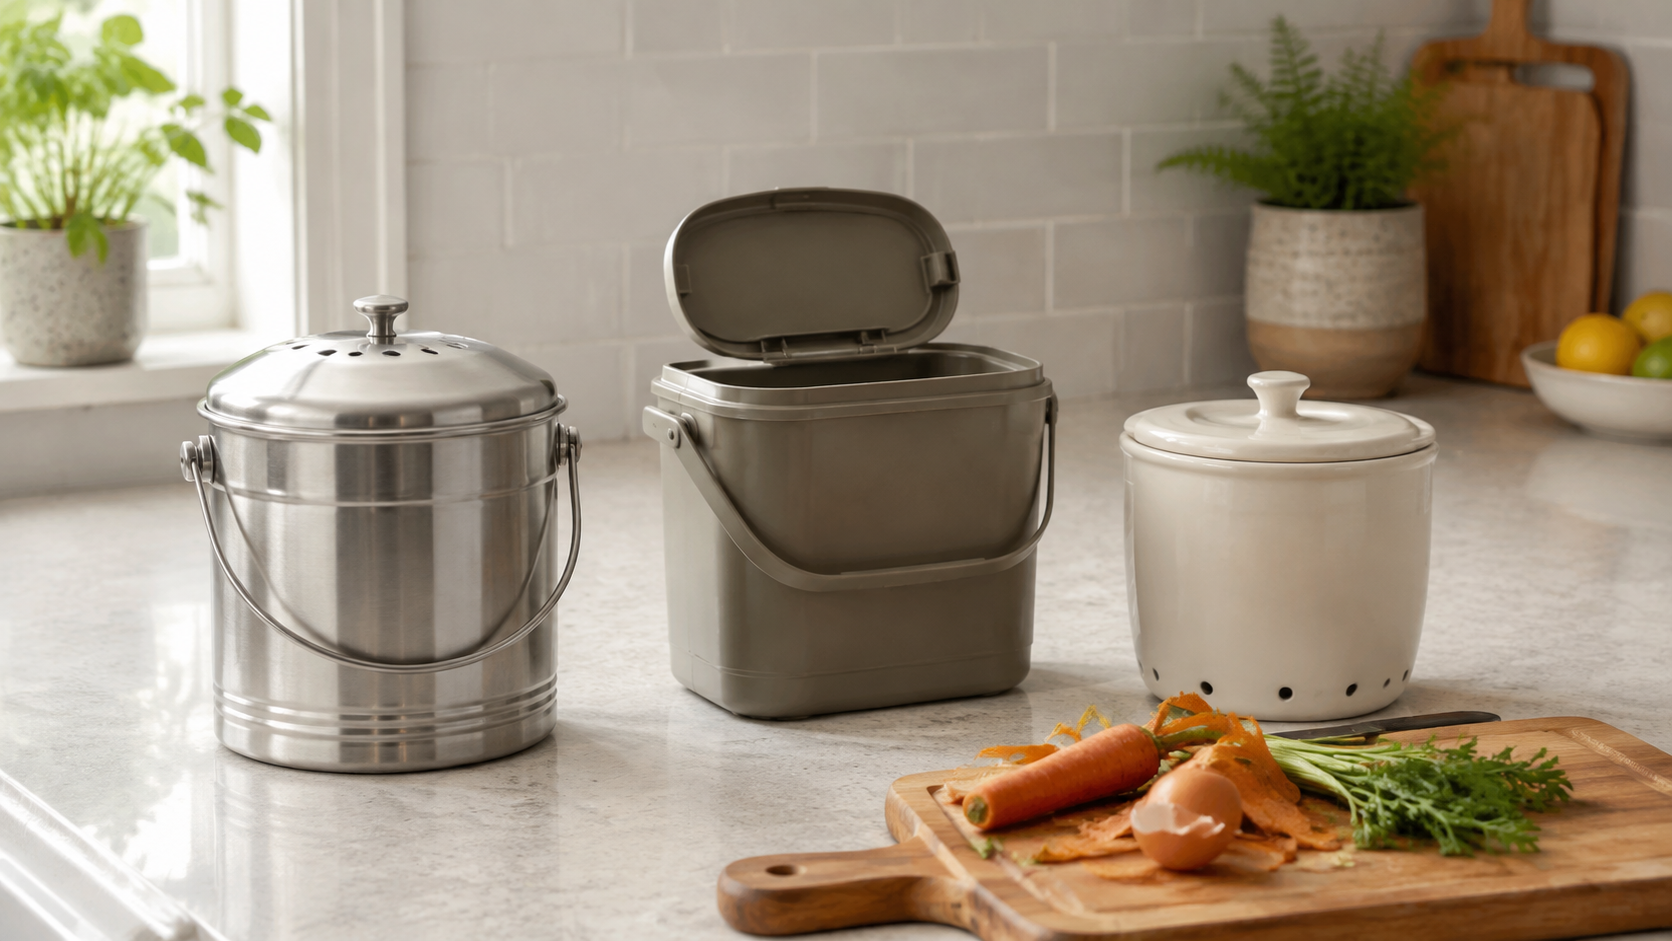
| Small handled pail | You carry scraps to another location and want one-handed transport. | Handle attachment, lid removal, opening width, and carry clearance. |
| Rectangular caddy | Counter depth is tight or the bin needs to sit against a wall. | Full exterior depth, hinge clearance, liner fit, and interior corners. |
| Crock-style container | You prefer a stable counter vessel and empty it nearby. | Empty weight, grip points, breakage risk, and hand-wash access. |
| Freezer container you own | You want scraps off the counter between less-frequent drop-offs. | Freezer space, clear labeling, and separation from food containers. |
Measure the whole working space
- Counter footprint: Mark the listed width and depth with paper or tape. Include handle pivots, lid overhang, and room needed to wipe around the bin.
- Lid clearance: Measure beneath cabinets and shelves with the lid open, not just closed. A tall hinged lid may make a compact body awkward to use.
- Opening: Compare the opening with the cutting board or prep bowl you use. A narrow neck can make scraping difficult even when stated capacity looks adequate.
- Carry path: Check doorways, stairs, elevator trips, or transit rules involved in reaching the final collection point. A secure grip may matter more than maximum volume.
- Scrap volume: Observe several ordinary prep sessions before sizing up. A larger bin may mean less frequent carrying but more time between emptying and more counter space used.
Compare lids without accepting broad promises
A lift-off lid is simple but requires somewhere to set it down. A hinged lid stays attached but needs vertical clearance and adds a hinge to clean. A flip or push lid can be convenient during prep, yet the opening may be smaller and the mechanism may collect residue. Look at how the lid is removed for emptying and washing—not only how it opens for a single scrap.
Some pails include vent holes or replaceable filters; other caddies use a close-fitting solid lid. A filter's presence does not establish that a bin will be odor-free or pest-proof. Check the maker's replacement interval and the ongoing availability and dimensions of replacement filters. Local rules, scrap type, room temperature, emptying frequency, and cleaning routine still matter.
Check liner fit and ongoing supplies
If the design expects a liner, verify the maker's recommended size and whether your local program accepts that liner type. Compare bag opening and usable depth with the actual interior rather than relying only on a volume label. A liner stretched across a rim can interfere with a gasket or lid, while excess material can complicate closing and carrying.
Also ask whether the bin works without proprietary refills. Replacement filters, custom bags, or mounting parts create an ongoing supply path that belongs in the buying decision. Do not assume a bag labeled “compostable” is accepted by your specific collection program.
Cleaning and material checks
Read care directions for every component. “Dishwasher safe” may apply to the body but not the lid, filter, gasket, handle, or mounting hardware. Smooth, accessible interiors are generally easier to inspect than deep seams or narrow channels, but no material should be treated as maintenance-free.
Stainless steel can be relatively light and non-breakable, while fingerprints, seams, coatings, and handle fittings vary by model. Plastic caddies can offer molded handles and rectangular shapes, while care temperatures, staining, scratches, and replacement parts vary. Ceramic crocks are heavier and can break. These are category tradeoffs, not durability or cleanliness guarantees.
When to skip a countertop bin
- An existing bowl or container already handles same-day prep scraps without adding friction.
- Your program has no reliable collection route, or its rules do not match the liners and scraps you expect to use.
- You have no counter location with enough closed and open-lid clearance.
- The listing omits exterior dimensions, component-level care instructions, replacement details, or usable return terms.
- You need a promise of zero odor, zero pests, or indefinite holding time. A consumer caddy cannot responsibly guarantee those outcomes.
- Cleaning another lid, filter, hinge, or liner system would make the routine harder rather than easier.
A no-purchase trial
For one week, collect eligible prep scraps in an existing bowl during cooking, then transfer them using the route you plan to keep. Note the peak volume, how often you empty it, the available counter rectangle, and whether carrying or freezer storage is the real problem. Those observations produce better buying criteria than choosing by a generic capacity label.
Keep the routine practical
This is a meal-prep cleanup tool, not a weight-loss product. If you are not yet sure a dedicated caddy earns its space, use the buy, reuse, or skip decision guide before comparing formats. The routine-support tools guide explains how to choose ordinary tools by the task they solve instead of body-result marketing. If small-counter cleanup is the wider issue, compare bench scrapers for moving dry prep debris; for washing and drying reusable containers afterward, use the dish-rack guide.
Bottom line
Choose a countertop compost bin only after confirming the downstream collection route. Favor measured fit, a usable opening, a lid you can operate and clean, a stable carry method, and supplies your local program accepts. Trial the routine with a container you already own first; if that works, the best new bin may be no bin at all.