Routine-support buying guide
Best Kitchen Timers for Meal-Prep Multitasking
When several pans, trays, or batches finish at different times, a separate kitchen timer can keep the schedule visible without pulling a phone into the workflow. The best choice is not a universal winner: it is the timer format whose channels, display, alarm, controls, and placement fit the way you actually cook.
As an Amazon Associate, GoodWeighFinds earns from qualifying purchases.
Who this guide is for
This guide is for adults who batch cook, rotate trays, prepare several components, or simply want a cooking prompt that does not depend on a phone. A timer can support a routine, but it does not change the nutritional value of food or produce weight-loss results.
If the larger problem is choosing which tools reduce routine friction, start with the routine-support tools pillar. For the planning stage before cooking, the meal-planning notebook guide compares paper layouts and grocery workflows.
Best-fit timer formats, not unsupported rankings
- Best fit for several dishes: A multi-channel digital timer that labels or clearly separates each active countdown.
- Best fit for one simple interval: A single-channel timer with large controls and a dedicated start/stop button.
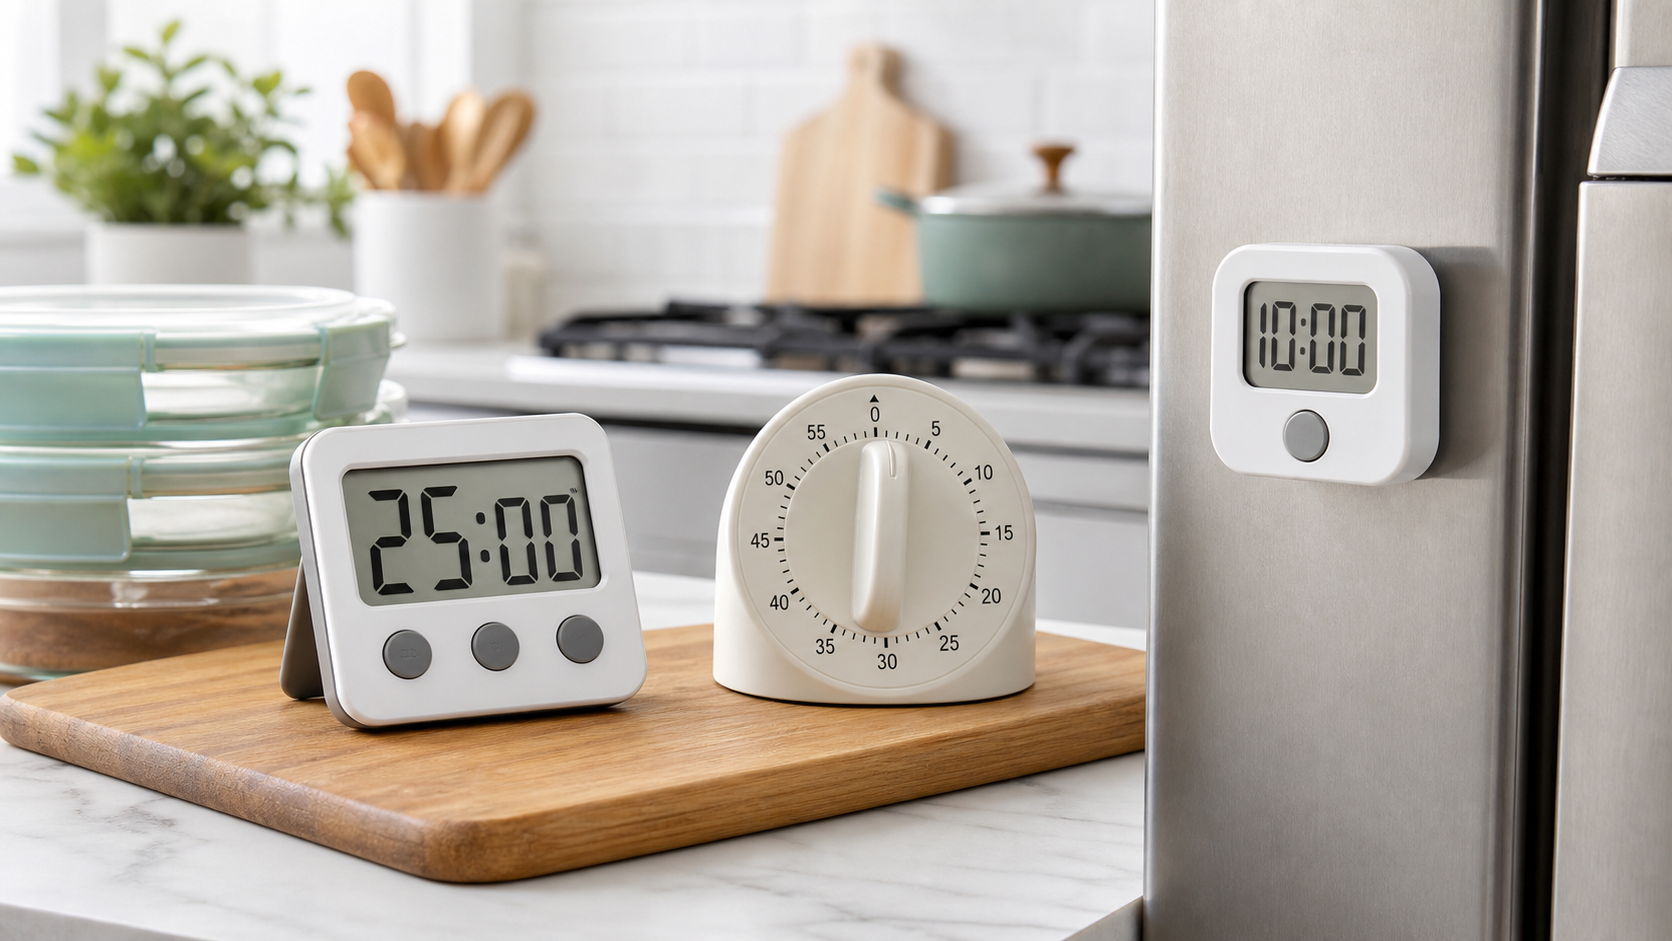
- Best fit for quick, screen-free setting: A mechanical dial timer, after checking its minimum useful interval and alarm duration.
- Best fit for limited counter space: A magnetic or hanging model that remains readable and secure in its intended location.
- Best fit for shared or noisy kitchens: A model with adjustable volume, a visible alert, or vibration—verified from the exact product instructions.
Selection criteria that matter
- Number of channels: Count the independent intervals you genuinely run at once. More channels can help, but poorly labeled controls can also create mistakes.
- Maximum and minimum duration: Confirm the timer covers both short prep steps and longer cooking periods without awkward workarounds.
- Display readability: Compare digit size, contrast, viewing angle, backlight behavior, and whether each channel stays visible while running.
- Alarm control: Look for stated volume choices, alarm duration, visual signals, and a clear way to silence one channel without resetting another.
- Control layout: Dedicated number keys can be faster; minute/second buttons can be simpler. Check how the timer corrects an entry and whether buttons have useful tactile separation.
- Memory and count-up: Memory can repeat a common interval. Count-up shows elapsed time after zero, but neither feature is useful if its behavior is unclear.
- Placement: Verify the stand angle, magnet coverage, hanging hole, clip, and closed dimensions. Keep any timer away from heat, steam, splashes, and surfaces the maker excludes.
- Power: Check battery type, whether batteries are included, replacement access, low-battery behavior, and whether settings survive a change.
- Cleanup and durability: Ordinary kitchen timers are not automatically washable or water resistant. Prefer a casing with reachable seams and follow the exact cleaning instructions.
A practical comparison framework
Write down the answers for each candidate before buying:
- How many independent intervals can run and remain visible at once?
- Can each channel be identified quickly when its alarm sounds?
- Are the digits readable from the normal prep position?
- Can the alarm be heard or seen in the real kitchen without being uncomfortably loud?
- Can one mistaken entry be corrected without clearing every timer?
- Does the stand or magnet hold the display at a useful angle?
- Are battery, cleaning, and operating instructions available before purchase?
- Would one oven timer or an existing phone timer already solve the problem?
Accessibility and shared-kitchen fit
“Large display” and “loud alarm” are vague listing phrases. Look for actual display measurements, product-manual details, adjustable sound levels, flashing or vibration options, tactile button distinctions, and a return policy that permits a real-world readability check. A very loud fixed alarm may be a poor fit in a shared home, workplace, or noise-sensitive household.
If low vision, hearing needs, hand mobility, or memory makes ordinary controls difficult, prioritize specific accessibility features over the number of channels. The broader timer with the longest feature list is not necessarily the easiest one to operate.
Who should skip this purchase
Skip a separate timer if the oven, microwave, watch, voice assistant, or phone you already use provides enough independent prompts without adding distraction. Skip a multi-channel model if you normally run only one interval; extra modes may add setup friction. Skip a magnetic model when the intended surface is nonmagnetic, curved, warm, or exposed to splashes.
A timer is only a reminder. Do not use it as proof that food has reached a safe internal temperature or that storage conditions are safe; follow applicable food-safety guidance and use the appropriate measuring tool for the food and method.
Bottom line
For meal-prep multitasking, start with channel count and clarity. Then compare display angle, alarm control, correction behavior, mounting, battery access, and cleanup. Choose the simplest timer that keeps the real cooking schedule understandable—without paying for features that make the routine harder to run.