Bottle-accessory buying guide
How to Choose Water-Bottle Boots for Desk and Commute Bottles
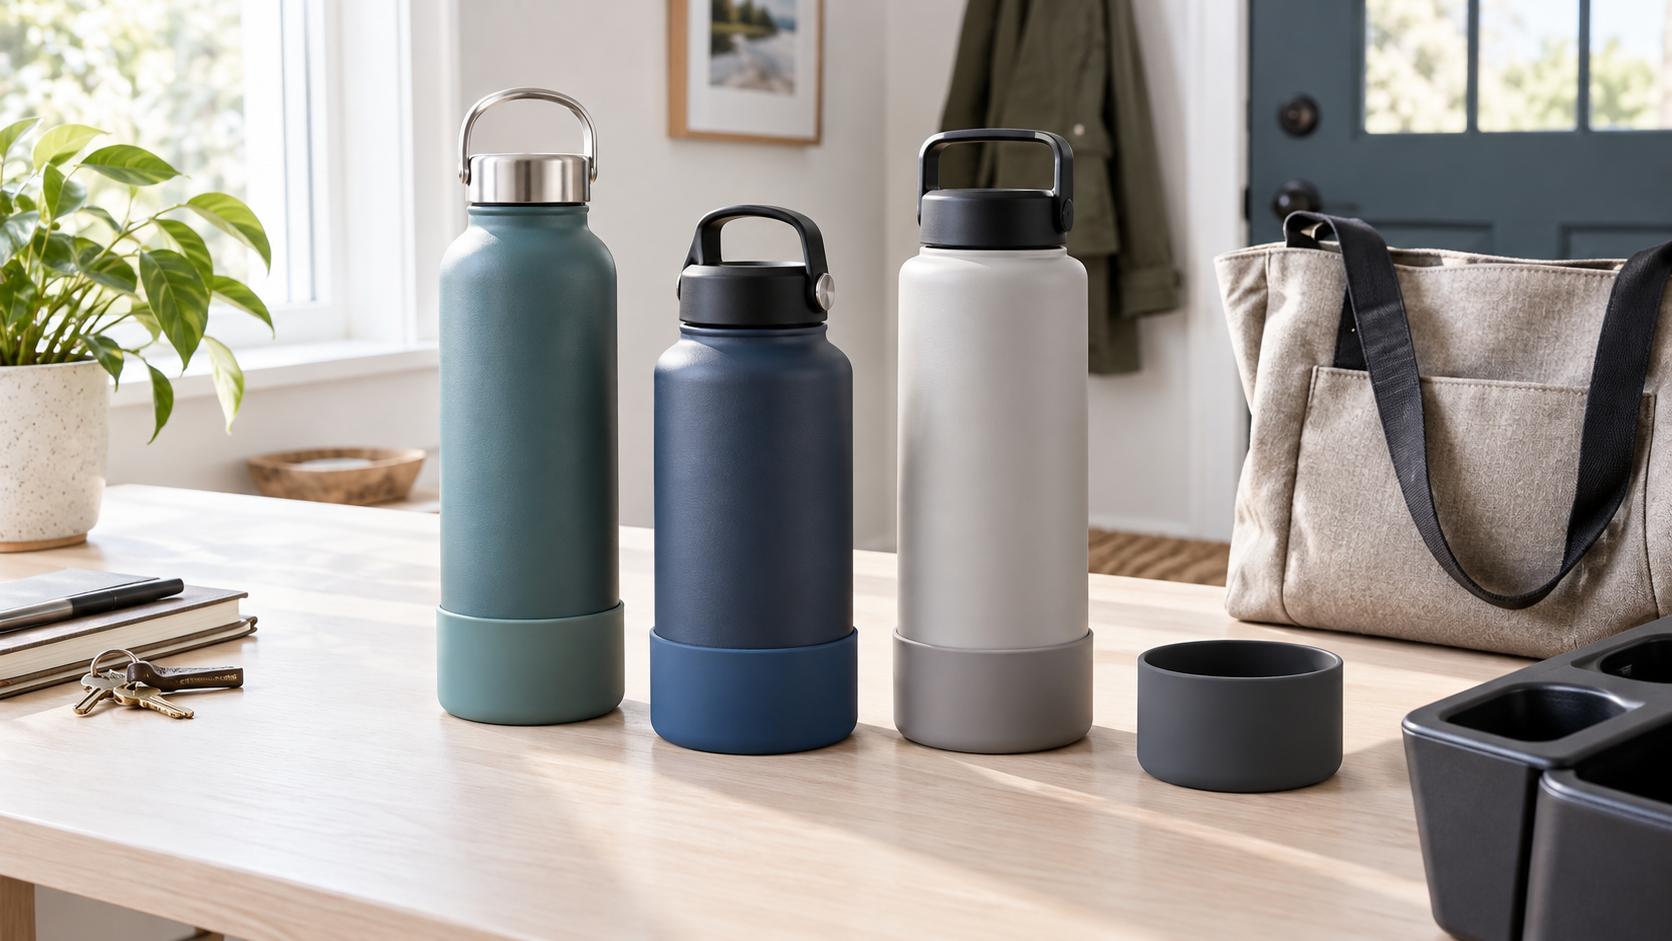
A removable bottle boot can make sense when a reusable bottle already fits the routine but its bare base is a poor match for a desk, bag pocket, or cup holder. Start with measured compatibility and the complete loaded setup—not broad promises about protection, grip, quietness, or universal fit.
As an Amazon Associate, GoodWeighFinds earns from qualifying purchases.
Who this guide is for
This guide is for adults who already own a reusable bottle and are deciding whether a removable base sleeve fits a recurring desk or commute problem. It is not a guide to choosing a bottle, replacing a damaged bottle, or proving impact protection.
If the bottle itself is the wrong shape for the commute, compare cup-holder bottles for commuters. If carrying the bottle hands-free is the problem, use the water-bottle sling guide. For the broader choose-by-task approach, start with the routine-support tools guide.
Useful formats—not ranked winners
- Low-profile fitted sleeve: Covers a short section of the base. Check the internal diameter, edge thickness, and whether it changes cup-holder or pocket fit.
- Taller fitted sleeve: Covers more of the lower wall. Confirm that the stated bottle shape and taper match; the same nominal capacity does not establish compatibility.
- Vented or drained base: Openings may change how trapped moisture escapes. Inspect their placement and follow the exact cleaning and drying directions rather than assuming the sleeve stays dry.
- Model-listed sleeve: Names compatible bottles or models. Recheck the current dimensions because model names, generations, and listing variations can still differ.
Measure the whole setup first
Measure the bottle's outside diameter where the boot will sit, including any taper or base ring. Compare that number with the sleeve's current internal diameter or documented compatibility—not only with bottle capacity. Also compare sleeve height with curves, seams, logos, or powder-coated areas near the base.
Then measure the narrowest opening the fitted bottle must enter: a vehicle cup holder, desk holder, backpack pocket, tote divider, or cabinet slot. A sleeve that fits the bottle can still make the complete setup too wide or too tall for its usual route.
Selection criteria that matter
- Base compatibility: Prefer an exact measured range or clearly identified compatible model. Reject “universal” fit unless useful dimensions support the claim.
- Sleeve height and shape: Compare the boot's internal profile with a flat, rounded, or tapered bottle base. A capacity label alone is not enough.
- Material labeling: Record what the maker says the sleeve is made from and any temperature or use limits. Do not convert a generic material label into a safety or durability guarantee.
- Removal: Check whether the care instructions require routine removal and whether the edge offers a practical place to start. Tightness and ease of removal are bottle-specific.
- Cleaning and drying: Look for directions covering both the boot and the bottle surface underneath it. Trapped liquid or debris is a reason to remove, clean, and fully dry the parts as directed.
- Loaded clearance: Add the sleeve thickness to the bottle diameter, then test that outline against every holder or pocket used during a normal week.
- Seller and returns: Confirm the current seller, quantity, color or size variant, compatibility statement, and return terms before ordering.
A no-buy fit test
- Name the recurring problem: Write down where the bare bottle causes friction. If the answer is vague, delay the accessory.
- Measure the bottle: Record the base diameter and the height available before the sidewall changes shape.
- Mock up the added width: Wrap a removable strip of paper around the base to approximate the listed outside diameter. Do not use adhesive on the bottle finish.
- Walk the normal route: Check the mock-up at the desk, in the bag pocket, and in the parked vehicle's cup holder. Never adjust or test a bottle while driving.
- Check care space: Decide where the removed sleeve and bottle will be cleaned and fully dried.
Claims to treat cautiously
“Drop protection,” “shockproof,” “non-slip,” “noise-free,” and “universal fit” are product claims, not category facts. Look for precise limits and model-specific documentation, and do not use a sleeve to keep using a bottle that is cracked, deformed, leaking, or otherwise outside the bottle maker's use guidance.
Who should skip a bottle boot
Skip one when the bottle already works on its usual surfaces, the seller omits useful dimensions, or the added width would compromise cup-holder or pocket fit. Also skip a sleeve that conflicts with the bottle maker's care guidance, hides damage, traps moisture you cannot routinely address, or costs close to replacing an already unsuitable bottle with a better-fitting format.
If worn straws, lids, or gaskets are the real issue, compare replacement bottle parts instead of adding a base accessory.
Bottom line
The best bottle boot is one whose documented internal diameter and height match the bottle, whose installed size still fits every regular holder, and whose removal, cleaning, and drying fit the routine. Measure first, test the added width, and treat protection or universal-fit language as claims to verify—not reasons to guess.