Small-kitchen format comparison
Over-the-Sink vs Standard Cutting Board for Small Kitchens
An over-the-sink board can turn an otherwise unused sink opening into temporary prep space, but only when it has measured support and blocking the basin does not break the workflow. A standard board is easier to place, wash, replace, and reuse, but it needs a stable patch of counter that can stay clear.
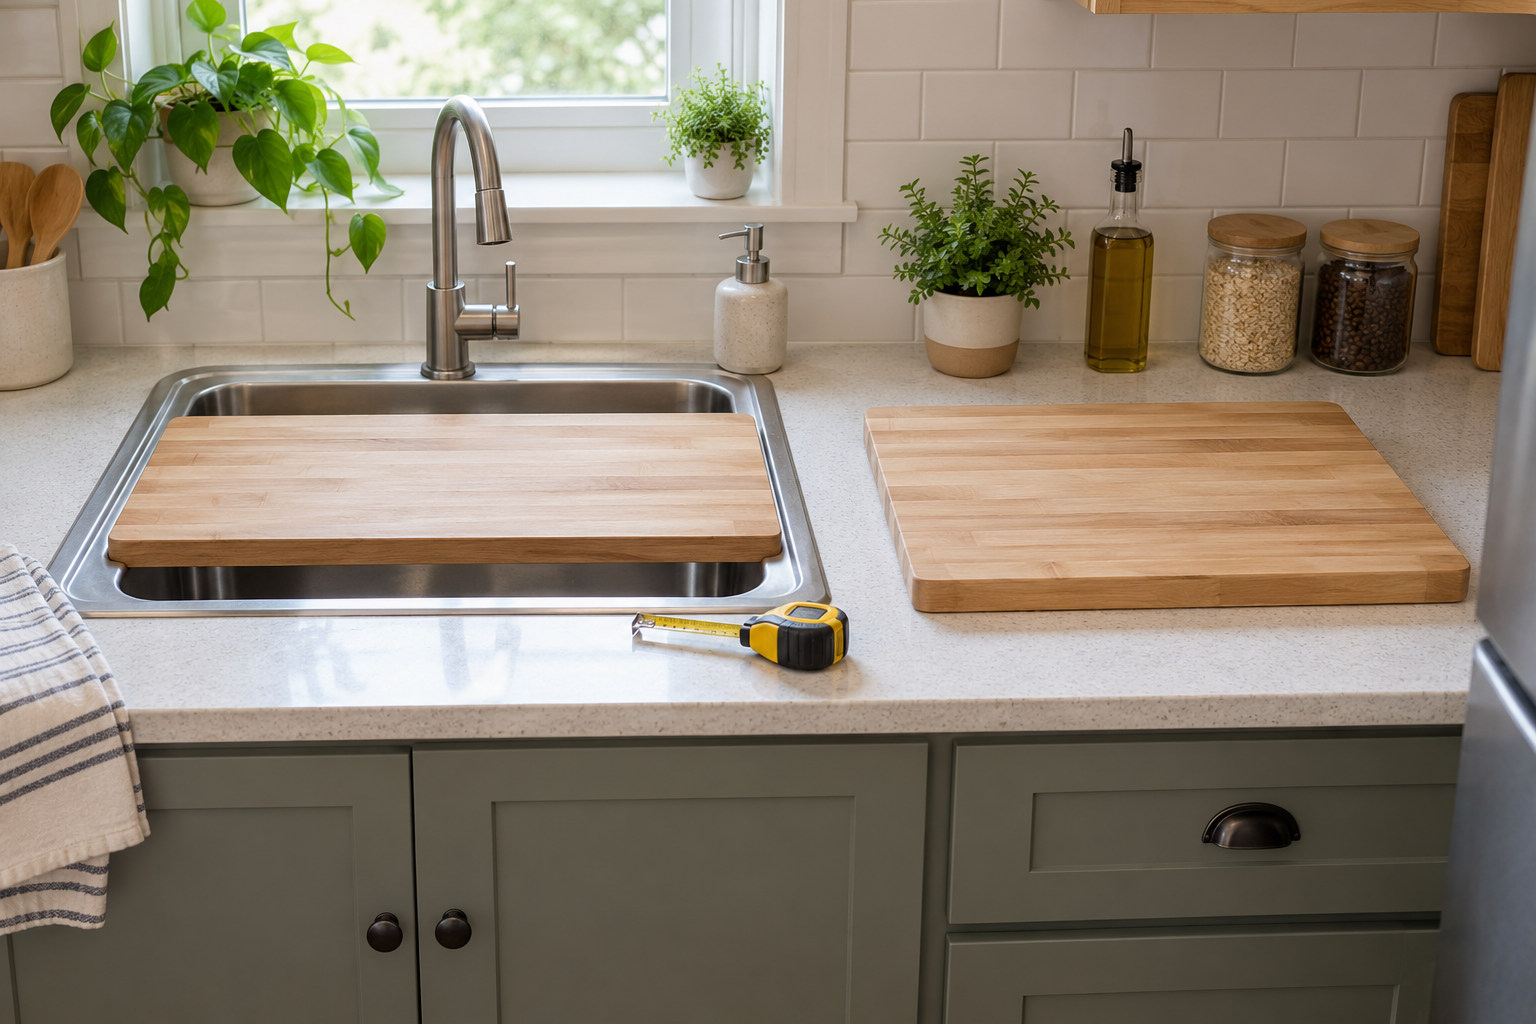
Quick decision
- Choose an over-the-sink board when the sink has two dependable support areas, counter space is the recurring bottleneck, and covering part of the basin still leaves a workable prep sequence.
- Choose a standard board when a stable counter area is available, the sink must stay open, or you want the simplest setup, cleaning, and replacement path.
- Skip a new board when the one you own fits the real batch and workspace, or when neither format has a clear washing, drying, and storage location.
What each option is designed to do
Over-the-sink cutting board
This format bridges the sink with a fixed body, extending rails, or a supported accessory frame. Its main job is to create temporary horizontal workspace without occupying the adjacent counter. Some versions include a removable basket or opening, but those features reduce the uninterrupted cutting area and add parts to wash and store.
Standard countertop cutting board
This is a flat board that sits fully on a counter or other maker-approved work surface. It does not depend on sink geometry and can move to another suitable work area. Its cost is the counter footprint it occupies during use.
Who each format fits
Over-the-sink may fit if
- Your only useful prep zone is repeatedly crowded.
- The sink has broad, level contact areas on both sides.
- You can measure the exact supported span before ordering.
- You can work while part of the sink is covered.
- The complete board fits the washing, drying, and storage setup.
Standard may fit if
- A board-size section of counter can stay clear and stable.
- You rinse ingredients or tools during cutting tasks.
- You want to move the board between compatible surfaces.
- You prefer fewer fit variables and moving parts.
- A familiar board shape is easier to handle, clean, or replace.
Tradeoffs that matter in a small kitchen
Workspace gained versus sink access lost
An over-the-sink board does not create space from nothing; it exchanges basin access for a raised work surface. Map the whole task: washing ingredients, positioning the board, cutting, moving food, clearing scraps, and rinsing tools. A standard board consumes counter area but leaves the faucet and basin available.
Fit certainty versus flexibility
A standard board mainly needs a sufficiently large, stable work surface. A sink-spanning board also depends on the opening width, outside rim-to-rim span, flat support depth, faucet position, dividers, curves, and any locking or grip mechanism. “Fits most sinks” does not replace dimensions.
Usable area versus complete size
For either format, compare the uninterrupted work area—not just total length and width. Handles, grooves, rails, baskets, and sink cutouts can shrink usable space. Also check whether the complete board fits where it will be washed and stored.
Cost and future reuse
A sink-specific format may stop fitting after a move or sink replacement. A standard board usually has fewer compatibility constraints. Compare total cost only after both choices pass the space and workflow tests; a cheaper board that has no stable place to work is not a bargain.
Setup and maintenance
For an over-the-sink board
- Measure the sink opening, outside span, flat support surfaces, faucet clearance, and nearby obstructions.
- Compare those measurements with the exact maker-stated dimensions and supported range.
- Follow the maker's placement and load instructions; do not assume rails, grips, or a wood lip guarantee stability.
- Remove and clean every accessory as directed, then dry the board before storage.
- Recheck contact points when changing position or using it over a different sink.
For a standard board
- Measure a clear work surface and confirm the board will sit fully on it.
- Follow product-specific directions for placement, cleaning, drying, oiling, dishwasher use, and replacement.
- Plan a drying position with airflow and a storage location that does not force the board to warp or remain damp.
- Inspect the board according to the maker's guidance and replace it when its condition no longer supports normal use.
Material labels and care instructions vary. Do not infer dishwasher, soaking, heat, or maintenance compatibility from appearance alone.
Run a no-buy layout test first
Mark each candidate's complete outline on clean cardboard and place it in the proposed location without using it for food preparation or as a load-bearing surface. Walk through faucet movement, ingredient staging, waste handling, tool rinsing, washing, drying, and storage. The test checks geometry and workflow only; it does not prove a product will be stable.
Skip criteria
- Skip the over-the-sink format if the listing omits complete dimensions, supported range, contact design, material, or care directions.
- Skip it when the rim is narrow, curved, uneven, interrupted, or needed for another sink accessory.
- Skip a standard board that would overhang the available counter or compete with a hot appliance, burner, or another unsuitable surface.
- Skip either format if it cannot fit the real batch, cannot be washed and dried as directed, or has no practical storage location.
- Skip buying when rearranging one existing tool creates enough clear prep space.
Next steps
If the sink-spanning format passes the layout test, use the over-the-sink cutting board guide to compare fixed, extending, and basket-equipped designs without treating any one format as a universal winner. If you are still deciding whether the extra setup earns its place, read the over-the-sink buy-or-skip guide. If the standard format fits better, compare standard cutting boards for small kitchens. For the wider framework, return to the routine-support tools guide.
Bottom line
Choose an over-the-sink board when measured support and a full workflow test show that trading basin access for temporary prep area solves the actual constraint. Choose a standard board when open sink access, simple placement, and broader reuse matter more. If the existing setup already handles the task, skip both.