Wet-shoe setup comparison
Shoe Drying Rack vs Boot Tray for Wet Walking Shoes
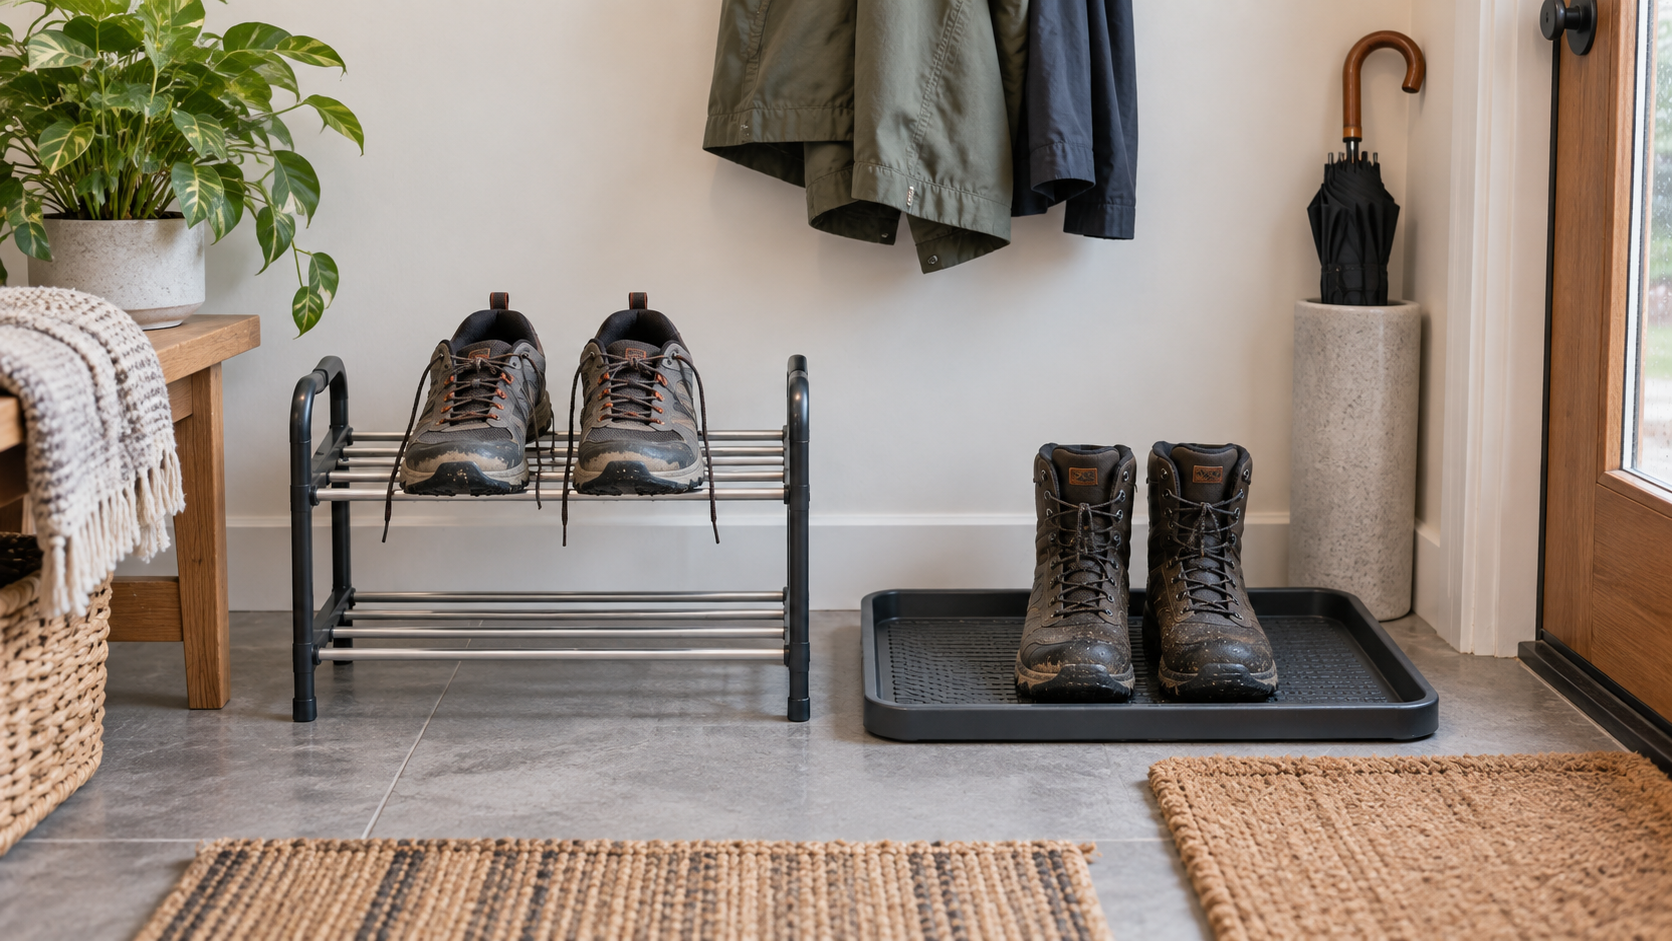
Choose a passive rack when separating several damp pairs for ordinary room airflow is the main job. Choose a boot tray when catching drips and grit at floor level matters more. Neither format guarantees a drying time, odor control, sanitation, mold prevention, or complete floor protection.
As an Amazon Associate, GoodWeighFinds earns from qualifying purchases.
The quick comparison
| Decision | Passive shoe rack | Boot tray |
|---|---|---|
| Primary job | Separates and raises footwear | Defines a floor-level drip and grit zone |
| Space to measure | Frame plus shoes projecting beyond it | Exterior size plus usable area inside the lip |
| Useful capacity | Depends on rail or peg spacing and shoe shape | Depends on interior dimensions, not the outer rim |
| Cleanup | Rails, joints, feet, floor, and any separate drip surface | Ridges, corners, lip, underside, and floor below |
| Main limitation | May let water reach the floor | Does not separate shoes or actively move air |
| Choose it when | Recurring multi-pair separation is the real need | Contained, easy-to-lift floor cleanup is the real need |
Start with the job, not the product name
Look at what happens after a typical wet walk. If shoes pile against one another, topple, or occupy several improvised spots, separation may be the useful change. If the pairs already sit neatly but water and grit spread across the floor, a washable tray may address the narrower problem with less height and visual bulk.
A rack and tray can be combined, but two products add fit, stability, and cleaning checks. Buy both only when the loaded rack sits fully inside the tray without its feet resting awkwardly on ridges or lips and without shrinking the walkway.
When a passive rack fits better
An unheated rack can give damp footwear a defined place and expose more of each pair to ordinary room air than a tight pile. Actual drying still varies with saturation, shoe construction, room humidity, temperature, ventilation, positioning, and the footwear maker's care directions.
- Measure loaded projection: include the longest toe, widest upper, and space needed to lift each shoe off.
- Check contact points: pegs and rails should not force openings, crease uppers, or press sharp edges into the shoe.
- Plan for drips: confirm where water will land; a rack alone is not floor protection.
- Test stability: compare the stated capacity and base width, and preserve door, stair, vent, and exit clearance.
- Keep the scope passive: heated and fan-powered dryers require separate checks for power, temperature, placement, and material compatibility.
When a boot tray fits better
A tray can collect some ordinary drips, mud, salt, or grit within its raised edge and make the landing zone easier to lift for cleaning. It cannot guarantee that water will stay off every floor: shoes can extend over the lip, trays can flex during carrying, and moisture can collect underneath.
- Use interior dimensions: the raised rim reduces usable shoe space.
- Compare lip and texture: deeper ridges may hold soles above some debris but can add scrubbing work.
- Check the carrying path: make sure the loaded tray can reach the cleaning area without bending or spilling.
- Inspect underneath: lift the tray and follow the flooring maker's moisture-care guidance.
- Avoid treatment claims: a basic tray does not sanitize, deodorize, treat footwear, or establish a drying time.
Run a no-buy entryway test
For one representative wet-weather week, put damp shoes in the proposed location over an existing washable towel or tray. Count pairs, measure the farthest shoe projection, note where water and grit land, and see whether the setup blocks anyone's route. Follow the shoe maker's care directions; do not improvise heat.
If the problem is solved by a towel, existing open shelf, or a different shoe location, skip another organizer. If both separation and drip control remain useful, measure a rack-over-tray setup as one object before shopping.
Questions to verify on every listing
- Are the assembled exterior and usable dimensions stated?
- Will the exact shoes fit without resting on a lip or being forced onto a peg?
- Are material, moisture exposure, placement, capacity, assembly, and cleaning instructions specific?
- Can all joints, ridges, corners, feet, and the floor below be reached for cleaning?
- Does the loaded product preserve a clear route through the entryway?
- Are drying, leak, rust, odor, sanitation, or durability phrases backed by a described test, or are they only seller language?
- Would a product still be useful if it made no difference to walking frequency or body weight?
Continue to the right model guide
If separation is the clear need, use the passive shoe drying rack guide to compare peg, rail, folding, and freestanding formats. If floor-level containment is enough, use the compact boot tray guide to compare measured footprint, lip, texture, and cleanup. Still unsure whether a rack earns permanent space? The shoe rack worth-it test walks through buy, improvise, and skip conditions.
Bottom line
A passive shoe rack is the stronger fit for separating recurring wet pairs; a boot tray is the simpler fit for containing ordinary drips and grit. Measure the complete loaded setup, test an existing solution first, follow footwear and flooring care instructions, and do not pay extra for unsupported hygiene or drying promises. This is one practical decision within the routine-support tools guide, not a weight-loss intervention.