Narrow-drawer storage guide
How to Choose Measuring-Spoon Organizers for Narrow Drawers
A dedicated organizer can stop measuring spoons from scattering, but it earns drawer space only when its slots fit your existing handles and the loaded setup clears the drawer above. Measure the spoons and the drawer before choosing a format.
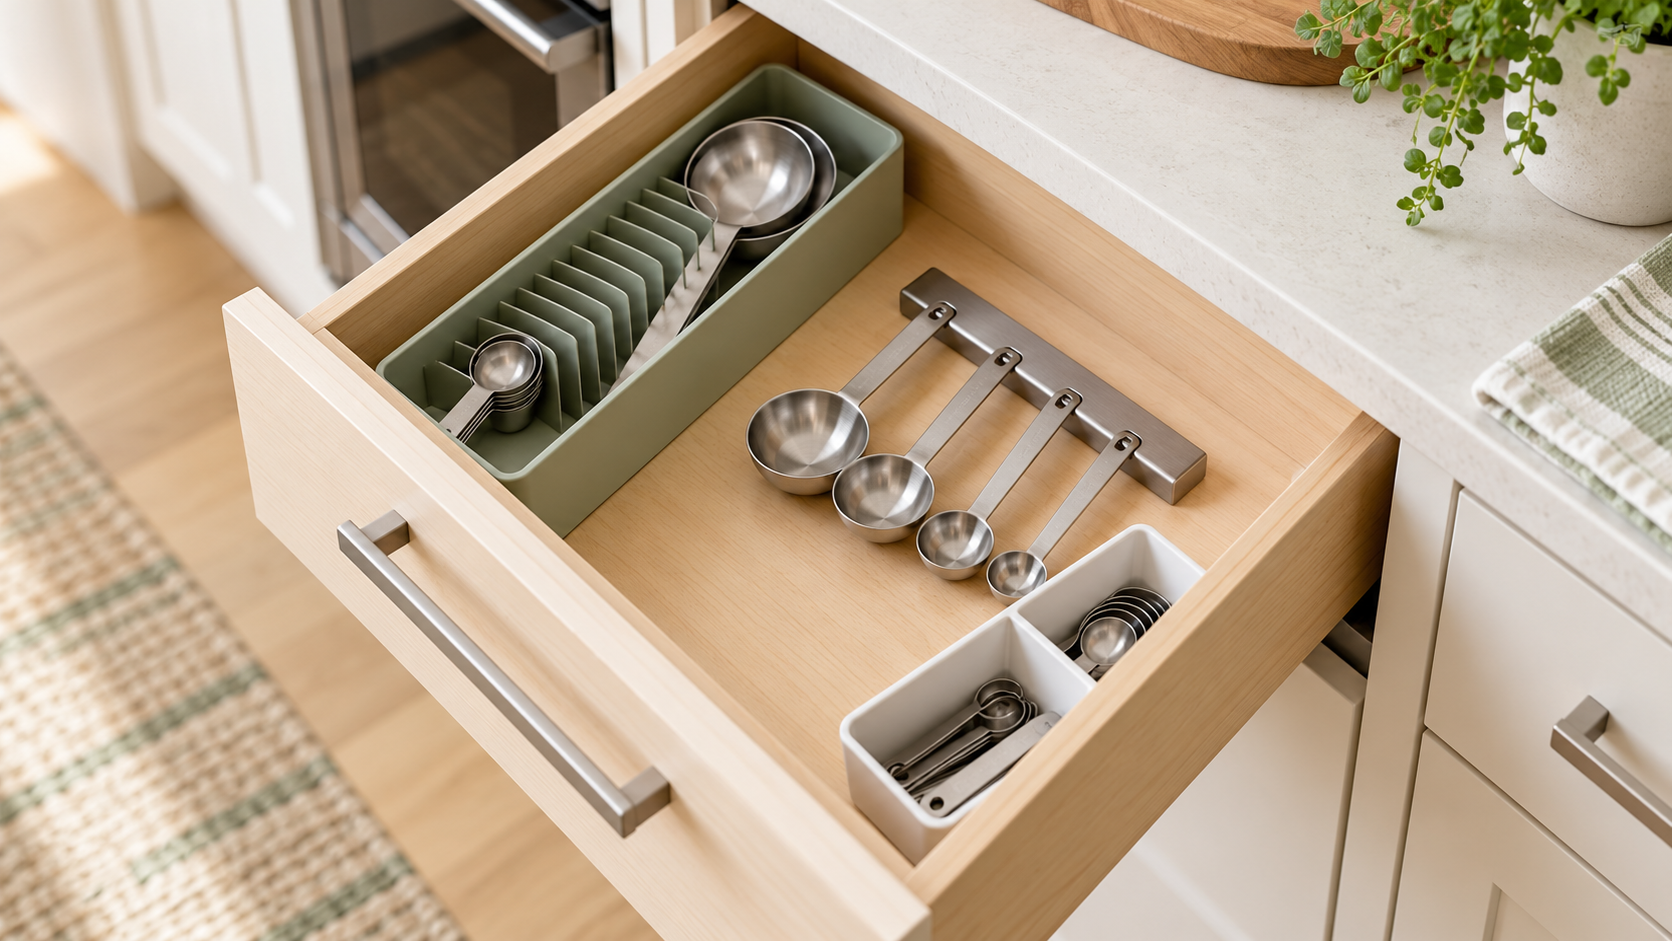
As an Amazon Associate, GoodWeighFinds earns from qualifying purchases.
Quick comparison: choose the smallest format that solves the scatter
| Format | Potential fit | Verify first |
|---|---|---|
| Slotted tray | You want each spoon separated and have enough drawer length for a fixed footprint. | Slot width and depth, handle shape, loaded height, removal angle, and unused slots. |
| Clip or rail organizer | You want individual spoons held in a row and can use the stated mounting surface. | Supported handle dimensions, spacing, fastener or adhesive instructions, and release motion. |
| Small removable bin | You want to keep a nested or ringed set together without matching each piece to a slot. | Complete stack fit, hand access, bin movement, corner cleaning, and nearby utensil clearance. |
| Existing divider or cup | Your current storage already keeps the set reachable. | Whether a specialized organizer would actually reduce repeated friction. |
Measure the spoon set as it is stored
Lay out every spoon you plan to keep. Record the widest handle, thickest handle section, largest bowl, longest overall length, and the height of the complete nested or ringed set. A slot that accepts a flat metal handle may not accept a rounded, silicone-covered, double-ended, or unusually thick one.
Count only the positions you need. Extra slots consume space and do not establish that the organizer fits uncommon spoon shapes. If the set stays on a ring, include the ring and any label tabs in the stored outline.
Check the full loaded drawer clearance
- Measure usable drawer width, depth, and height inside the box.
- Subtract space needed by fixed dividers, rails, screw heads, liner edges, and nearby tools.
- Add the organizer's base or mounting thickness to the tallest loaded spoon.
- Test the removal motion: a spoon may need to lift, tilt, slide, or flex out of its holder.
- Close the drawer slowly with a cardboard mock-up matching the listed loaded height.
Do not use an empty organizer's height as the clearance figure. Drawer interiors can also narrow near sides, handles, and joinery, so measure the intended location rather than assuming the whole drawer matches its front width.
Access matters more than a perfectly aligned photo
- One-hand removal: Treat this as a claim unless the maker explains the compatible handle range and release motion.
- Labels: Check whether size markings remain visible in the stored position and whether spoons can return to any slot or only a matched one.
- Spacing: Leave finger room between bowls or handles if you often remove one spoon from the middle.
- Workflow: A tray may suit a set used piece by piece; a bin may suit a nested set that normally leaves the drawer together.
- Drawer sharing: Make sure neighboring utensils cannot slide across the spoons and block removal.
Grip and mounting claims need exact instructions
For a loose tray or bin, check the stated base material and footprint, then treat words such as “non-slip” as model-specific claims rather than guarantees. A compatible drawer liner or snug divider may be simpler than buying a specialized base.
For adhesive, screw-mounted, or clip-on rails, read the maker's approved surfaces, preparation, placement, cure time, fasteners, removal directions, and exclusions. Do not infer damage-free removal, holding strength, or universal fit from a staged image. Avoid drilling into a drawer unless the cabinet maker or property owner permits it and the hardware has safe clearance through the material.
Cleaning and upkeep can erase the convenience
Flour, spice dust, crumbs, and moisture can collect around narrow slots, clips, adhesive edges, and textured bases. Look for a stated cleaning method and enough access to dry every surface. A removable open bin may be easier to wipe than a fixed rail, while a slotted tray may keep pieces more separated; the better fit depends on the drawer and cleanup routine.
Check whether liners, clips, adhesive strips, labels, or dividers are replaceable, but do not assume replacement parts will remain available. Follow material-specific care instructions instead of assuming dishwasher use or long-term adhesion.
Run a no-buy test first
For one week, place the current spoons in a small box, reusable cup, or an unused section of an existing divider. Notice whether the set still scatters, whether you remove the whole set or one spoon at a time, and which dimensions cause snags. If a household container solves the problem, a dedicated organizer probably adds cost and another item to clean.
Skip or delay the purchase when
- The listing omits slot dimensions, loaded height, exterior footprint, mounting instructions, or care guidance.
- Your spoon handles vary more than the organizer's documented range.
- The loaded organizer would conflict with the drawer opening, tools above it, or neighboring utensils.
- The storage format makes markings harder to read or adds a fussy return step after every wash.
- You would need to alter cabinetry without appropriate permission or clear installation instructions.
- A ring, small bin, existing divider, or decluttered drawer already keeps the spoons reachable.
Keep storage separate from spoon selection
If you are deciding what kind of measuring spoon to own, compare magnetic and adjustable measuring spoons for small drawers. If a nested replacement set is the actual need, use the magnetic measuring-spoon guide. For general narrow-drawer zones rather than spoon-specific storage, compare drawer dividers for meal-prep tools. The broader routine-support tools pillar keeps ordinary kitchen accessories separate from body-result promises.